Here is the quilt top of a scrappy quilt. Sorry I forgot to take pictures. Please let me know if my directions don't make sense. I will make some samples if needed.
This is a twin bed size that is going to be for my granddaughter.
I thought I took pictures of how to make it, but I guess I didn't.
So here are the directions:
Everything was pieced onto foundation fabric. I bought a queen size sheet from the thrift store and cut it into my foundation pieces.
The squares were cut 12 1/2" X 12 1/2". The strips between the squares were cut 3 1/2" wide and the width of the sheet. All seams are 1/4"
Fold the squares into a triangle and press the fold line. This is used as a guide. Lay a piece of fabric on one corner with the crease in it and center the crease below the corner fabric. Add the next strip with right sides together and sew. The strips I used are not all the same width on both ends of that strip of fabric. If you look closely you will see how the angle slightly changes. Some strips are pieced before sewing to the foundation fabric also. After the foundation square is covered turn it over and trim off all excess fabric.
Piece the 3 1/2" strips of fabric the same way (no crease line needed). Just be sure to change the angle of the strips every so often and piece some little pieces together before sewing to the foundation strip.
Cut the long strip into as many 12 1/2" strips as needed and sew them to the squares. Add the long strips that connect each row. Sew the foundation strips together if needed before adding the scraps.
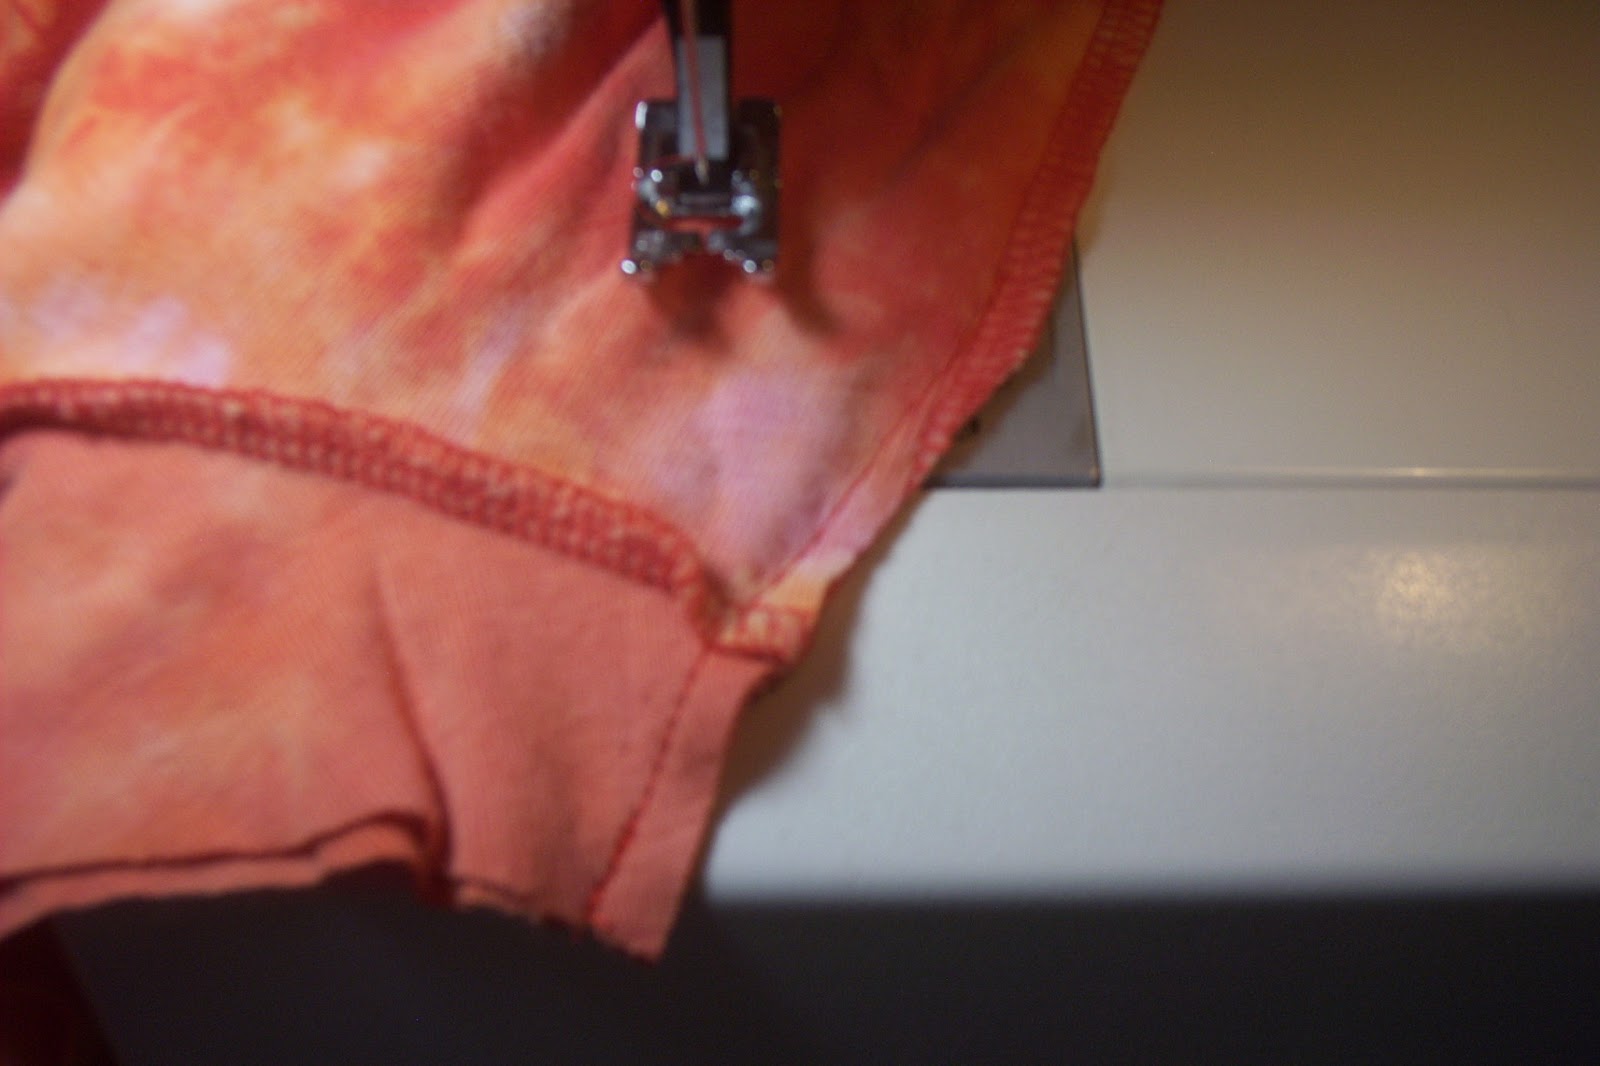
The following pictures are from a different project, but the concept is the same.
Right sides together. Sew it 1/4 inch seams.
Flip the strip over and press. Continue until all strips are added. Don't skip the pressing. This is where my TV tray pressing board came in very handy.
Trim off excess fabric to match foundation piece.
These are some of my sewing projects. Some are for sale and some are not. Some of the ones for sale can also be found on Facebook and my other sewing blog. Look for Pukka Kreations.
Tuesday, July 16, 2013
Friday, January 4, 2013
Baby Doll Clothes for School
Here is one set of flannel pajamas with matching diapers. There is also two matching blankets.
The diapers have the soft side of the Velcro all across the front. Little pieces are on the back corners. This will make them easier for the kids to use. Not thrilled with the pattern and will probably make some changes to it. I searched all pattern books and the internet for a pattern and finally found a very old one in my pattern box.
Two diapers, two night gowns and two blankets are ready. The blankets are one layer of flannel 20" square and surged around the edge.
Here is baby wrapped up and ready to go to school. Wish I could go to school/work in my jammies and take my blanket.
Orange Batik T-Shirt Remake
For this t-shirt a disappearing ink pen helped mark the cutting lines.
Here is the original shirt. I like 3/4 length sleeve, but the lace neckline lace just wasn't me.
I tried on the shirt and decided on a new sleeve length. I marked it with a pin. Then I measured that distance from the sleeve hem to the new cut line and placed dots with the disappearing maker and cut along the dots.
Here is a zoomed out view of the cut off sleeve.
I tired it on and decided I wanted a cap sleeve instead. I used the marker again and placed dots along a shape I thought I would like. Put the two pieces on the other sleeve and cut it to match the new shape. It was hot the day I remade this shirt. That is probably why I kept changing the sleeve length.
The sleeve opening was too big now, so I pinned where I wanted it to be.
I took the lace off of the neckline and divided the neckline into quarter.
I did the same with the lace.
There were a lot of tiny holes along the old stitching line. I pinned
the lace edge to match along the old stitching line, matching the quarter
marks of the shirt with the lace trim quarter marks. Lace seam is at center back.
Then sewed it on with right sides together.
Trimmed the shirt neckline to match the lace edge.
Folded the lace to the inside and top-stitched it down using the foot as the guide.
Turned it to the right side and stitched a second row using my foot as the guide.
Then I sewed a new underarm seam line.
Here is the original shirt. I like 3/4 length sleeve, but the lace neckline lace just wasn't me.
I tried on the shirt and decided on a new sleeve length. I marked it with a pin. Then I measured that distance from the sleeve hem to the new cut line and placed dots with the disappearing maker and cut along the dots.
Here is a zoomed out view of the cut off sleeve.
I tired it on and decided I wanted a cap sleeve instead. I used the marker again and placed dots along a shape I thought I would like. Put the two pieces on the other sleeve and cut it to match the new shape. It was hot the day I remade this shirt. That is probably why I kept changing the sleeve length.
The sleeve opening was too big now, so I pinned where I wanted it to be.
I took the lace off of the neckline and divided the neckline into quarter.
I did the same with the lace.
Then sewed it on with right sides together.
Trimmed the shirt neckline to match the lace edge.
Folded the lace to the inside and top-stitched it down using the foot as the guide.
Turned it to the right side and stitched a second row using my foot as the guide.
Then I sewed a new underarm seam line.
Trimmed off the extra fabric and hemmed the sleeves.
Here is the new finished shirt.
Black T-shirt remake
Hubby and I got the same T-shirt from his sister.
I wanted mine to look more like a girls, so I took my favorite t-shirt pattern and placed it on top of the shirt. I folded up the hem of the sleeve pattern and placed it on the hem of the sleeve. The shirt's length was perfect. I then cut all the new pieces out of the original shirt and sewed it back together.
No problem telling which shirt is mine and which one is his now.
Red T-shirt remake
Here is another item I got from the LDS Church clothing fair. Forgot to take before and after pictures. As you can see it had panels on the front to look like it was a two separate pieces. I took all the seams apart. Removed the front pieces and sewed it back together. I had to re-hem the entire thing because the inside front piece was shorter than the outer pieces.
Gray sweater makeover
Another item from the LDS Church clothing fair. I loved the sweater, but hated that it was a pullover. One look inside told me this was a super easy remake.
A close-up of the sweater detail.
The piece in the center was a knit piece of fabric attached separately. Very easy to undo the row of stitching on each side.
Now I have a cardigan.
A close-up of the sweater detail.
Brown dress makeover
I got this dress at the LDS Church clothing fair. It was the perfect color for me, but I didn't like the bib vest thingy. I knew that would be an easy fix.
Close up of the bib. I like the fabric design, just not as part of the dress.
I removed the bib. Trimmed the ties from it to be the same width all the way down. Sewed the shoulder seams back together. Opened up the side seams and added the ties to the dress.
Now I love it and wear it all the time. I still have the bib saved. Thinking of making it into a little clutch purse for church. As you can see that I do like to make covered hangers. They are flannel and machine embroidered. They keep everything hanging correctly.
Subscribe to:
Posts (Atom)